


Introduction to Open WebUI
In today’s digital age, artificial intelligence has become an integral part of our lives. From virtual assistants to content generation, AI-powered tools are revolutionizing the way we interact with technology. One such tool that has gained immense popularity is ChatGPT, a language model developed by OpenAI. While ChatGPT offers impressive capabilities, there are times when you might prefer to have a more personalized and private experience. That’s where Open WebUI comes into play.
It is an open-source web application that allows you to run your own ChatGPT instance locally on your computer. This means you can enjoy the benefits of ChatGPT without relying on external servers or sharing your data with third parties. In this tutorial, we’ll guide you through the process of setting up Open WebUI and creating your personal ChatGPT assistant.
Why Use Open WebUI?
Before we dive into the technical details, let’s explore the advantages of using Open WebUI:
- Privacy: By running ChatGPT locally, you ensure that your conversations and data remain private on your device.
- Customization: It gives you the flexibility to customize the behavior of your ChatGPT instance to suit your specific needs.
- Offline Access: You can enjoy the benefits of ChatGPT even without an internet connection.
- Cost-Effectiveness: While using external ChatGPT services might incur costs, running it locally is generally free.
Prerequisites
To get started, you’ll need the following:
- A computer: A Windows, macOS, or Linux machine with sufficient resources.
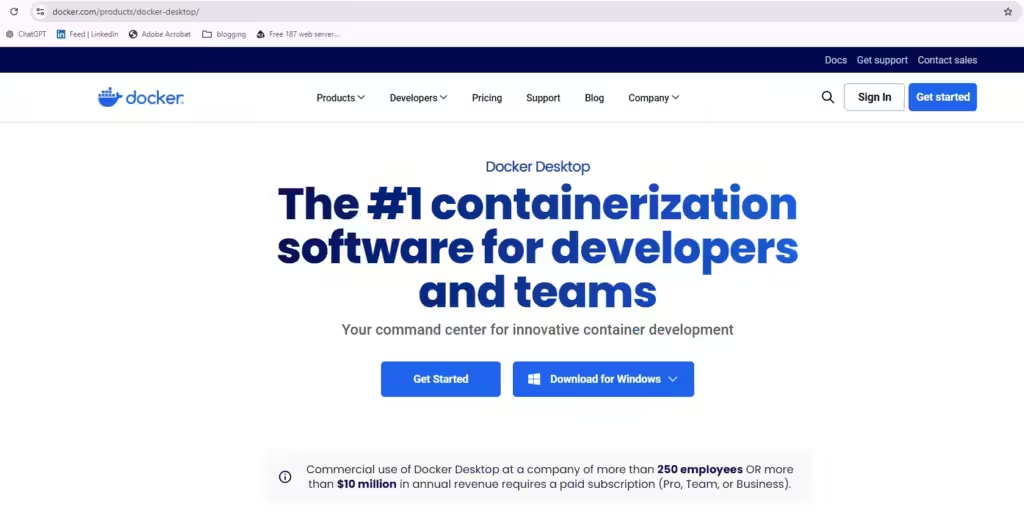
- Docker Desktop: Docker Desktop installed on your system. You can download it from here
- Git: A Git client for downloading the Open WebUI repository. You can download it from https://git-scm.com/.
Step-by-Step Guide
1. Clone the Repository
- Open your terminal or command prompt.
- Navigate to the directory where you want to store the project.
- Execute the following command to clone the Open WebUI GitHub repository
git clone https://github.com/open-webui/open-webui
2. Install Ollama (optional)
Next, you have to install the Ollama server itself. This I have put as an optional step because Open WebUI comes with an Ollama bundled package but I will recommend you install it separately so that you can play with Ollama and have more control. You can read my article on the Ollama tutorial to get more details.
3. Install Docker Desktop
Docker Desktop is a tool that simplifies the development and deployment of containerized applications. It provides a user-friendly interface for managing Docker containers, images, and networks on your local machine. You can download the installer from Docker Desktop’s official website
4. Install Open WebUI image
There are 2 ways by which you can run the image
- use cloned code and build docker-compose to run the code as an image
docker compose up -d --build- run the repository image from the docker repository
Run the image as a docker container in your machine. We will use the below command to run the Open WebUI at port 3000
docker run -d -p 3000:8080 --add-host=host.docker.internal:host-gateway -v open-webui:/app/backend/data --name open-webui --restart always ghcr.io/open-webui/open-webui:main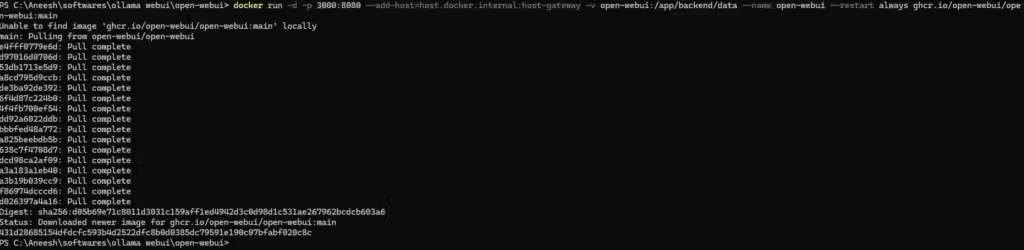
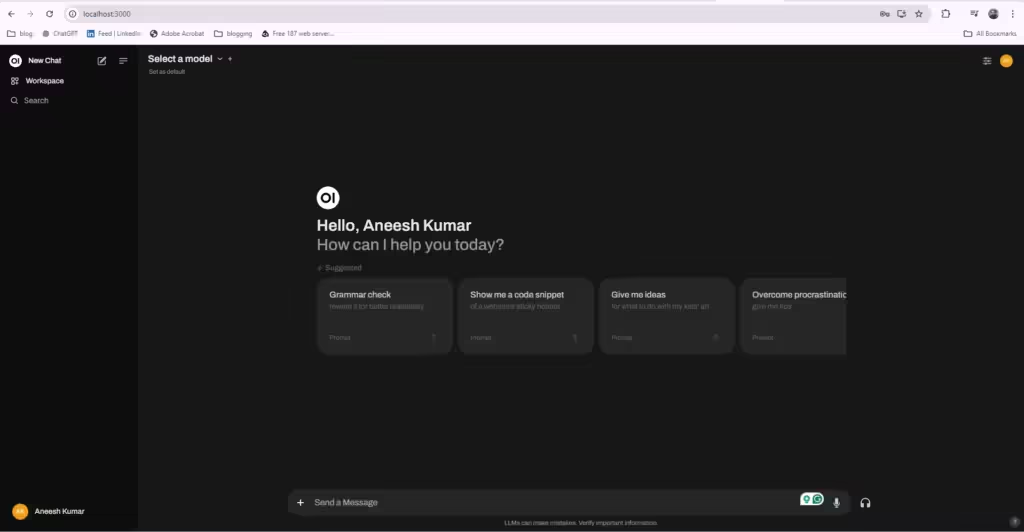
5. Access Open WebUI:
- Open your web browser and navigate to http://localhost:3000 (or the port you specified in the docker run command).
- You should now see the interface where you can interact with your local ChatGPT assistant.
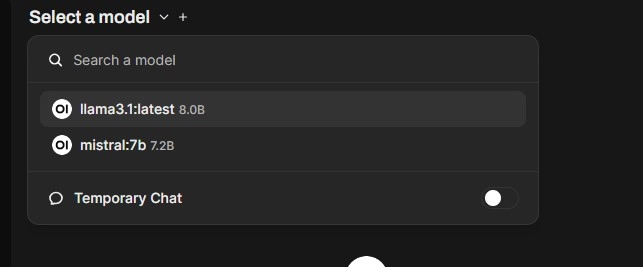
6. Select your model
If you have downloaded any model while installing Ollama. You will see the model in ‘Select a model’ dropdown

If you haven’t downloaded any model while installing Ollama. You can pull models from settings page
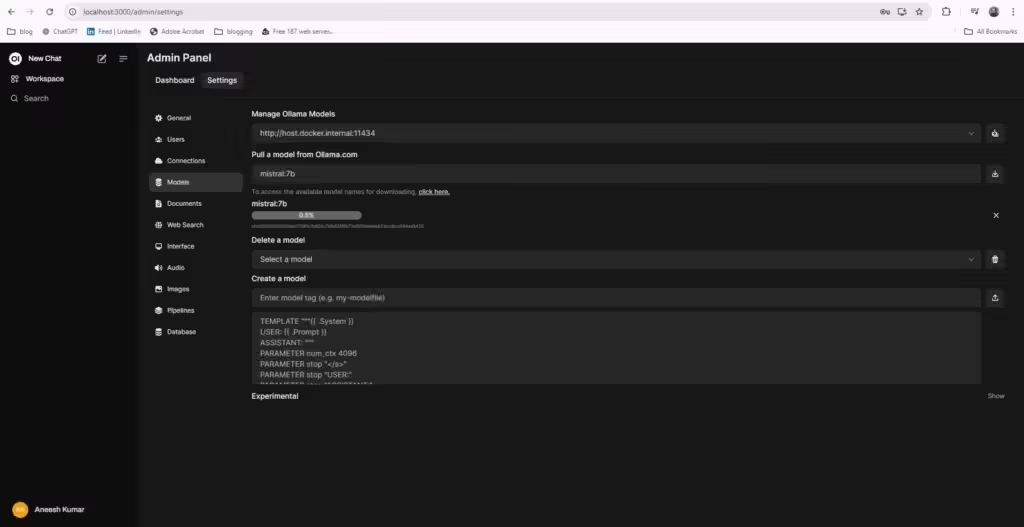
Once pulled you can see the newly added model in the select model dropdown. Now you can use any of these models to start chatting.
7. Done!! Start chatting
Congratulations, You have successfully installed your ChatGPT assistant!!. You can use it for free and even without any internet.

If you find any issue with the installation of Open WebUI, refer to its official documentation
Conclusion
By following these steps, you’ve successfully set up Open WebUI and created your own personal ChatGPT assistant. Now you can enjoy the benefits of having a powerful AI tool at your fingertips, tailored to your specific needs and preferences. With Open WebUI, you have the freedom to experiment, customize, and explore the endless possibilities of AI. If you want to learn more about LLMs, please read my separate article on LLM here and as I mentioned before if you want to learn more about the Ollama setup go here.